
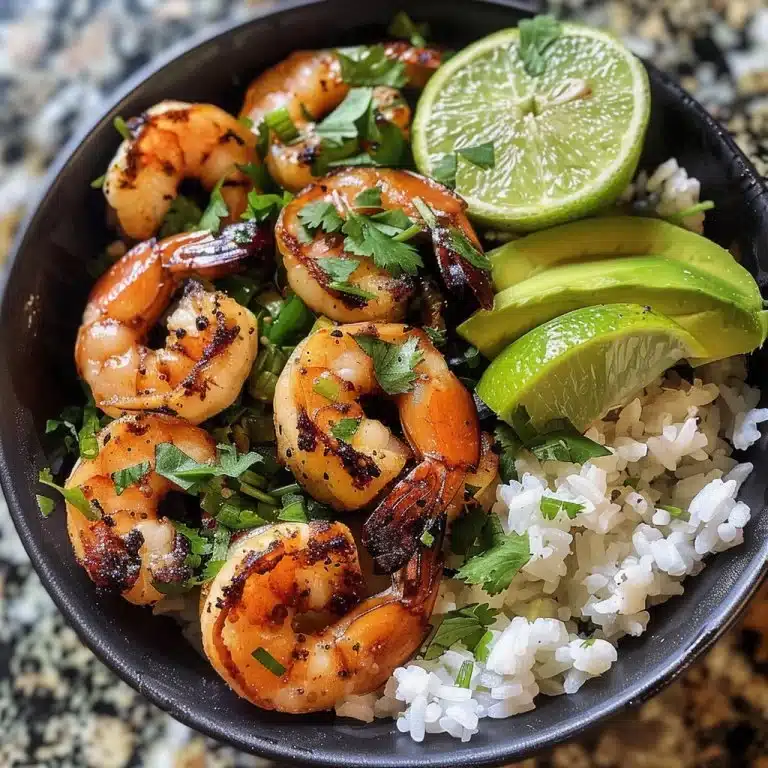
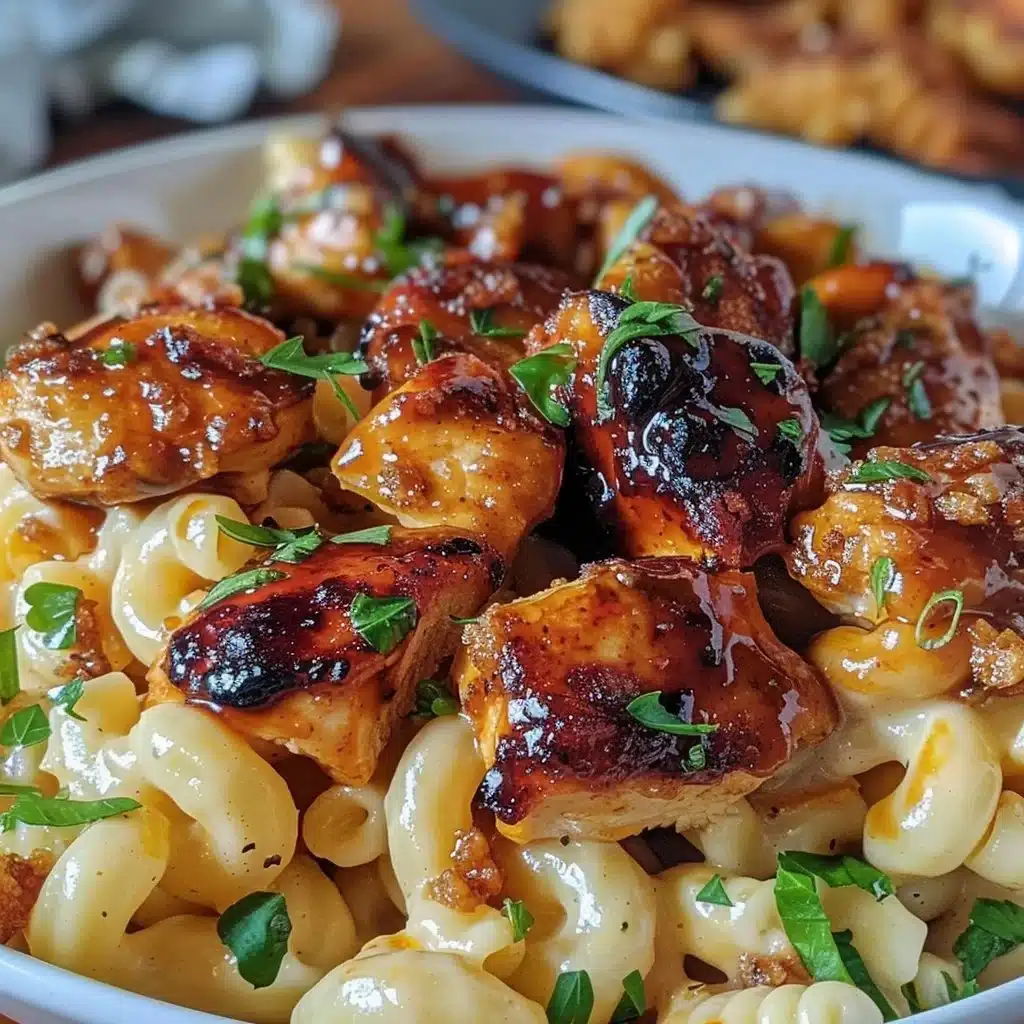
Honey Garlic Chicken is a delightful dish that perfectly balances sweet and savory flavors. The rich, sticky honey sauce combined with the bold taste of garlic creates a dish that is not only mouthwatering but also visually pleasing, making it perfect for dinner parties or cozy family meals. Serve it alongside rice or vegetables, and you’ll have a stunning meal that impresses guests while satisfying your family.
Imagine the aroma wafting through your kitchen as you cook this dish, with each bite delivering a burst of flavor that dances on your taste buds. This article provides simple steps to ensure your Honey Garlic Chicken turns out perfectly every time. From ingredient selection to cooking techniques, you’ll find everything you need to create this show-stopping dish with ease.
Why You’ll Love This Recipe
- Fresh Ingredients: This recipe uses simple and wholesome ingredients that you can easily find.
- Ease of Preparation: With just one pan, cleanup is a breeze while you cook.
- Nutrition: Packed with protein and flavor, it’s a balanced meal option.
- Versatility: Perfect for weeknight dinners or special occasions.
- Presentation: The glossy honey glaze makes it visually appealing.
You’ll enjoy whipping this up for any gathering or dinner.
Preparation and Cooking Time
- Total time: 30 minutes
- Preparation time: 10 minutes
- Cooking time: 20 minutes
Ingredients You’ll Need
You begin by selecting the right chicken thighs or breasts, honey, garlic (minced), soy sauce, olive oil, salt, pepper, and water (optional). Garnish with green onions if desired.
Main Protein
- What to Use: Chicken thighs or breasts work well. Chicken thighs are juicier while breasts are leaner.
- Preparation: Trim any excess fat and pat dry with paper towels.
- Substitutions: If you’re looking for an alternative, try boneless pork or tofu for a vegetarian option.
- Tip: Bone-in skin-on chicken will add more flavor but requires a bit longer to cook.
Starch/Pasta
- What to Use: Serve with white rice or noodles for a complete meal.
- Preparation: Cook according to package instructions.
- Substitutions: If you’re looking for an alternative, quinoa or cauliflower rice can be excellent low-carb options.
- Tip: Make sure to season your starch lightly to enhance overall flavor.
Seasoning/Spice Blend
- What to Use: Soy sauce is key to the umami profile.
- Preparation: No special prep needed; just measure out the required amount.
- Substitutions: If you’re looking for an alternative, tamari or coconut aminos can be used for a gluten-free option.
- Tip: Always taste the sauce before adding more salt, as soy sauce can be quite salty.
Liquids/Dairy
- What to Use: Olive oil is preferred for sautéing.
- Preparation: Measure and have it ready to go.
- Substitutions: If you’re looking for an alternative, canola or vegetable oil can be used.
- Tip: Don’t skip the oil as it helps with browning the chicken.
Aromatics & Vegetables
- What to Use: Fresh garlic adds richness.
- Preparation: Mince the garlic finely to release its essential oils.
- Substitutions: If you’re looking for an alternative, garlic powder works but won’t be as vibrant.
- Tip: Sauté garlic just until fragrant to avoid bitterness.
Optional Finishing Ingredients
- What to Use: Green onions for garnish.
- Preparation: Slice thinly before garnishing.
- Substitutions: If you’re looking for an alternative, sesame seeds add a nice crunch and flavor.
- Tip: Garnish just before serving to maintain freshness.
Step-by-Step Instructions
This Honey Garlic Chicken recipe comes together in one pan, making it easy for cooks of all levels.
Step 1: Heat the Pan
Start by heating a large skillet over medium heat. Add olive oil and let it warm up for about 2 minutes.
Step 2: Sear the Chicken
Place the chicken in the pan, skin-side down (if using skin-on), and cook for 5-7 minutes until golden brown. Flip and brown the other side for another 5 minutes. This step locks in the juices.
Step 3: Add Garlic
Once both sides are browned, add minced garlic to the pan and cook for 1 minute until fragrant. Stir often to prevent burning.
Step 4: Create the Sauce
Pour in the soy sauce, honey, and a splash of water if desired. Stir well. Let it simmer for 5 minutes to thicken. This blending creates an irresistible glaze over the chicken.
Step 5: Check Doneness
Ensure the chicken is cooked through, reaching an internal temperature of 165°F (75°C). The sauce will give off a rich aroma, signaling it’s ready.
Step 6: Glaze the Chicken
Spoon the sauce over the chicken in the last 2 minutes of cooking. This ensures each piece is well-coated and packed with flavor.
Step 7: Garnish and Serve
Once done, remove from heat and garnish with chopped green onions. This will add a fresh pop of color and flavor to your dish.
How to Serve
- Presentation: Serve the glazed chicken on a platter, drizzled with extra sauce.
- Accompaniments: Pair with steamed rice or stir-fried vegetables.
- Portions: Cut chicken into slices for easy serving.
- Beverage Pairing: A chilled white wine or iced tea balances the sweetness.
This lovely dish is sure to please any crowd!
Additional Tips
- For added flavor, marinate the chicken in the sauce for an hour before cooking.
- Customize with your favorite vegetables like bell peppers or broccoli.
- Serve with a side of salad to balance the richness of the dish.
Recipe Variations
- Spicy Honey Garlic Chicken: Add red pepper flakes to the sauce for a kick.
- Honey Garlic Salmon: Substitute chicken with salmon fillets for a different protein.
- Slow Cooker Version: Cook the chicken in a slow cooker on low for 6 hours with the sauce for tender results.
Freezing and Storage
- Storage: Keep leftovers in an airtight container in the fridge for up to 3 days.
- Freezing: For best results, freeze in a sealed container for up to 3 months. Thaw in the fridge before reheating.
Special Equipment
- Large skillet or frying pan
- Wooden spoon
- Measuring cups and spoons
- Knife and cutting board
- Tongs
FAQ’s
1. Can I use frozen chicken?
Yes, but make sure to thaw it completely before cooking for even results.
2. Is this dish healthy?
Honey Garlic Chicken is a protein-rich meal that can be made healthier by using less honey or low-sodium soy sauce.
3. Can I make this ahead of time?
Yes, you can prep and marinate the chicken ahead of time and cook it later.
4. What customization options do I have?
Feel free to add your favorite vegetables to the cooking process or adjust the sweetness to your taste.
5. Can I cook this in the oven?
Absolutely! Bake at 375°F (190°C) for 25-30 minutes, basting with sauce halfway through.
Conclusion
Honey Garlic Chicken is a fantastic dish that combines health and delicious flavors, perfect for any occasion from weeknight dinners to festive gatherings. With its ease of preparation, you’ll find it’s an impressive meal that everyone will love. Enjoy creating this dish and watch it become a family favorite!

Honey Garlic Chicken
Ingredients
Main Protein
- 4 pieces chicken thighs or breasts Trim any excess fat and pat dry.
Sauce Ingredients
- 1/2 cup honey Use less for a healthier option.
- 4 cloves garlic, minced Mince finely for best flavor.
- 1/4 cup soy sauce Tamari or coconut aminos can be used for gluten-free options.
- 2 tablespoons olive oil Can substitute with canola or vegetable oil.
- 1 pinch salt Adjust to taste.
- 1 pinch pepper Adjust to taste.
- 2 tablespoons water (optional) For sauce thinning.
Garnish
- 2 tablespoons green onions, sliced Add just before serving for freshness.
Instructions
Preparation
- Heat a large skillet over medium heat and add olive oil, warming for about 2 minutes.
Cooking the Chicken
- Place the chicken in the pan, skin-side down if using skin-on, and cook for 5-7 minutes until golden brown.
- Flip and cook the other side for another 5 minutes.
- Add minced garlic and cook for 1 minute until fragrant.
- Pour in the soy sauce, honey, and water (if desired). Stir well and let simmer for 5 minutes to thicken.
- Check the internal temperature reaches 165°F (75°C).
- Spoon the sauce over the chicken in the last 2 minutes of cooking.
Serving
- Remove from heat, garnish with chopped green onions, and serve immediately.


Did you make this recipe?
Share a photo and tag us, we can’t wait to see what you’ve made!